Contracts, terms and services agreements, acceptance letters—there are multiple ways to say it, but creating a document that shows information and forces the end user to accept that information is a common request. Unfortunately, it is also an online form option that is harder to imagine moving from paper to your computer. Whether you want to get a quick sign-off for a registration form, send out a contract for services, or just verify your users read your terms and conditions, there are multiple ways to add contract elements to your form.We’re going to go over the most common requests and share tips and tricks on how to format those options in Formstack so you can ditch the pile of paper contracts and use online contracts.We’re going to go over how to create an electronic signature and click-to-accept fields, as well as options for displaying long terms. Then, we’ll look at how we can manage those contracts once that data is collected.
Signatures
The option to force a user to sign or initial a form is a question that often comes up, so there is a specific field for just that! The Signature field in Formstack allows you to add a field on the form that lets the user sign their submission. If you’re on a computer, it’s a signature with your cursor. On mobile devices, the user can sign easily with their finger or stylus.
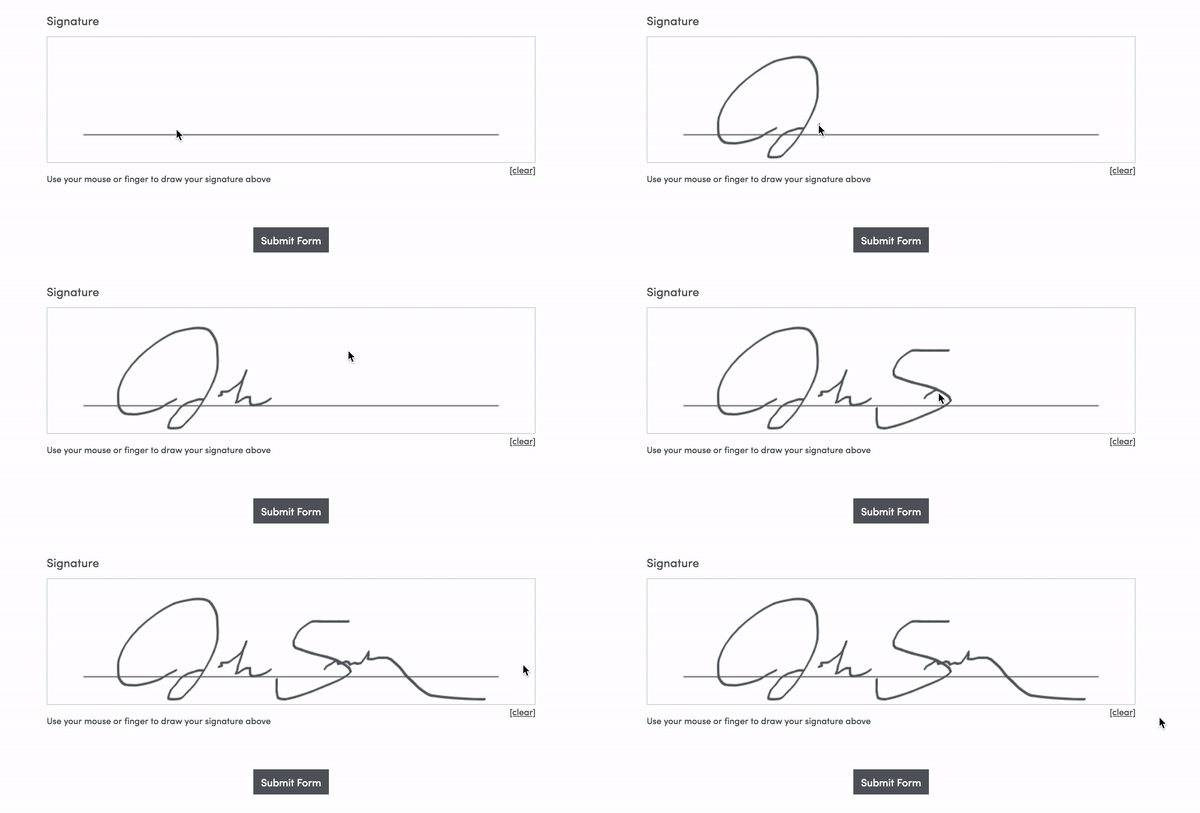
In order to add this field, you just go to your form > Build and then drag the Signature field option from the left-hand side.

Pro tip: If you want a small signature field for initials, you can use columns and column span to make a signature that is ¼ of the page instead of the whole page. More about columns can be found here. Once the user has signed the form, their signature will be saved as an image with the submission. This image is saved as a URL that you can view in your submissions at any time.
Click to Accept
A large part of contracts is displaying text and asking your user to agree to those terms. We don’t have specific fields for this, but you can set up a Long Answer field and a Checkbox field to make this happen.
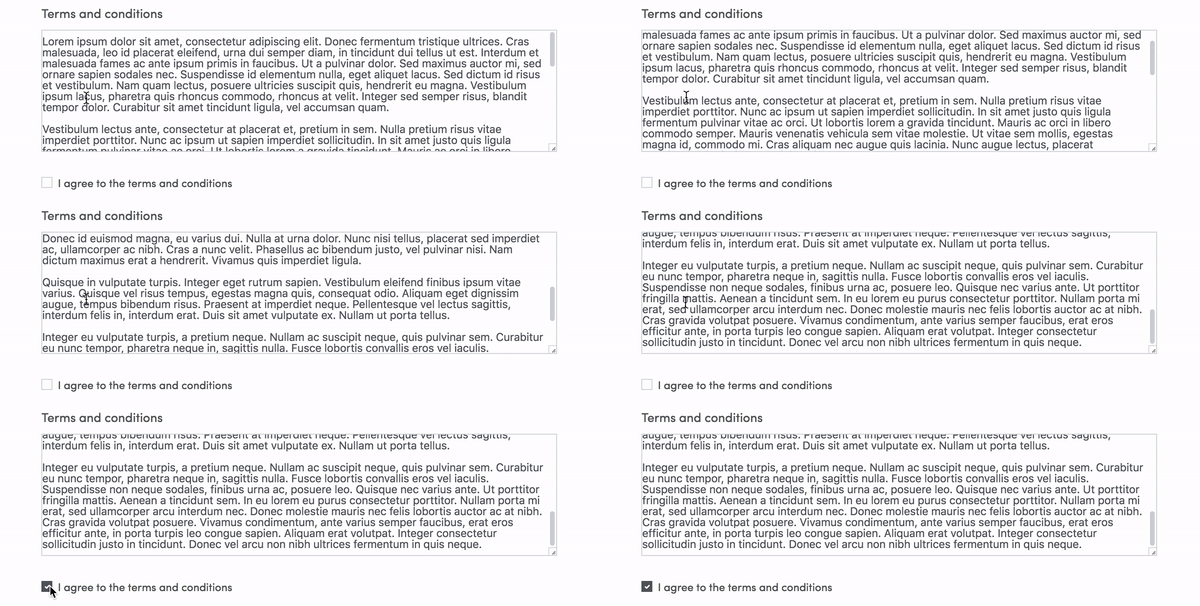
If you have a large amount of text that you want to wrap and scroll like the page above, you’ll want to go to the form > Build and then drag a Long Answer field onto the form. In the field settings on the left, you can set the field to Read Only so users won’t edit it. Then enter the text into the Default Value field. In order to set up the scroll option, you can set a specific number of rows high in the Field Size > Row(s) High option. In our example, we chose 10 rows. That’s it! Once you’ve done this, you have a scrollable field that the user can see on the form without having to look at a wall of text, and you’ll have a field that saves the text to your submissions.

Pro tip: We have a setting on all forms that grays out Read Only fields so it’s easy to tell you can’t enter them. If you don’t want this for this specific form, you can add the below CSS to your form to remove that for your Long Answer field.
.fsReadOnly, .fsReadOnly textarea { opacity: 1;}
Now you want to make the user acknowledge that they saw the terms. You can do this by going to the form > Build and dragging a Checkbox field onto the form. Then, in the left-hand options for the field, you can set the label to something that will let you know what the field is about and click the Hide Label checkbox. Then, in the options for the field, copy and paste the phrase you want the user to agree with and remove the other options. Now you have a quick checkbox they can check to agree to those terms.

Pro tip: You want to use a Checkbox field and not a Radio Button field because once someone clicks a radio button on a form with only one option, they are stuck with that option. Uh oh! The Checkbox field let’s them unclick that option.
On the Back End...
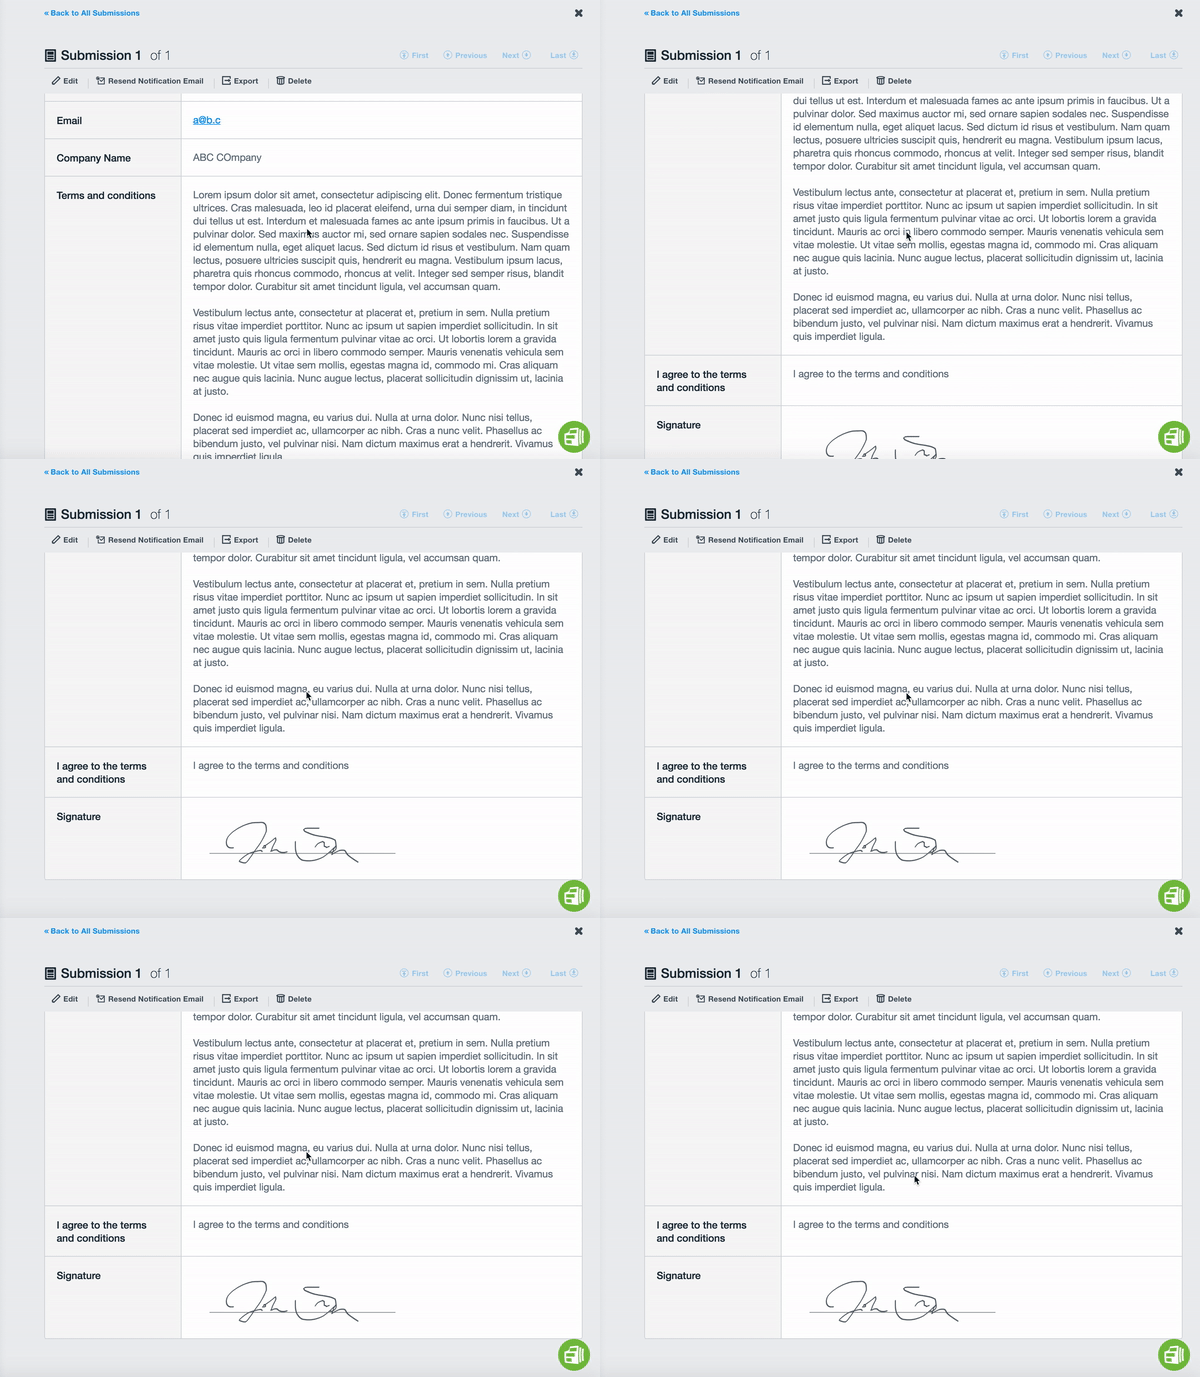
Now that you have the form set up, the number one question is: What can I do with the data I collected? The information is, by default, automatically saved to your submissions database, and you can search through the submissions when the contract is needed at a later time. By default, the submissions information looks like the example below, but there are a variety of in-app and out-of-app options for saving, exporting, and sharing your online contract.
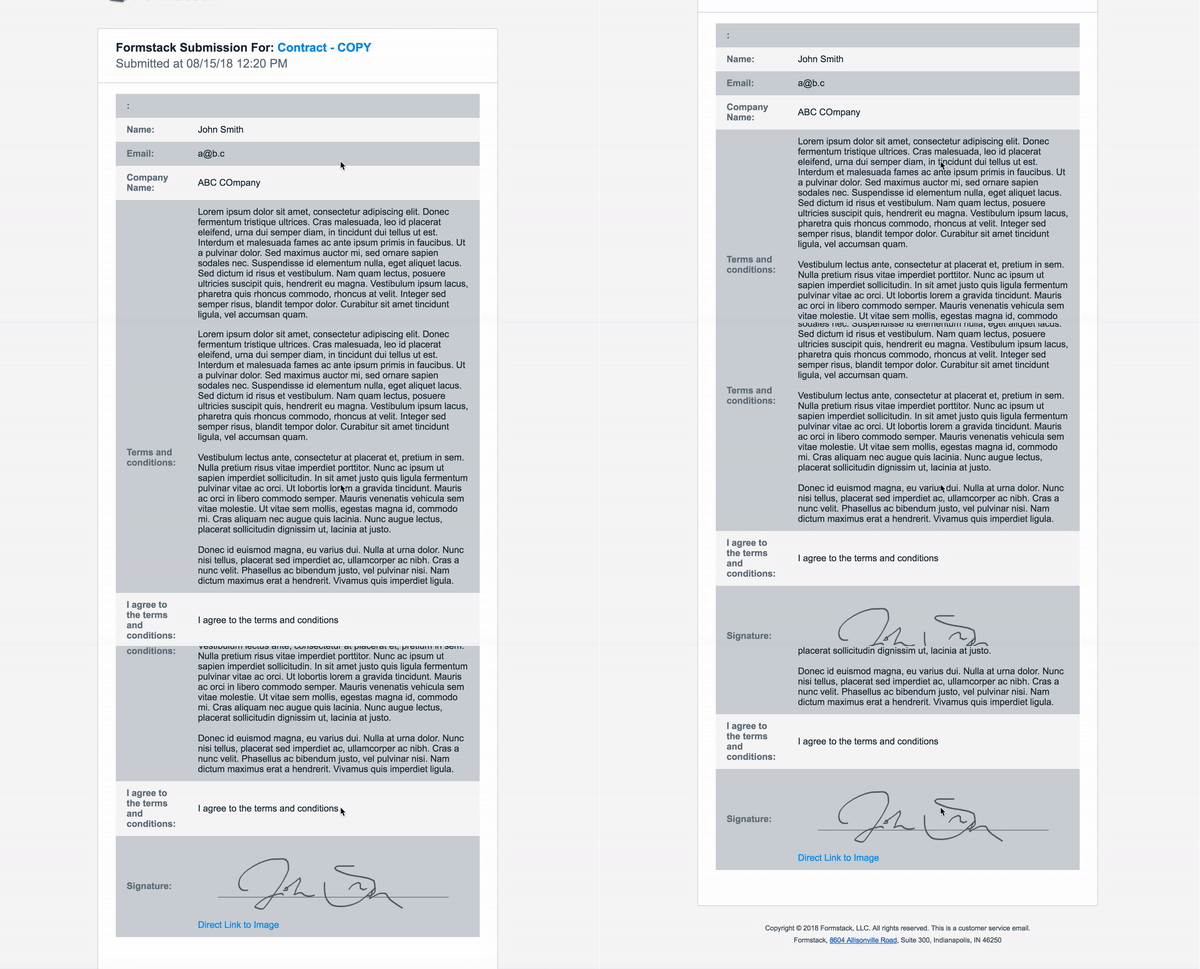
The easiest to set up is our default “All Submitted Data” email option. If you just need a quick email that shows all the data, this is auto-generated without you needing to do anything!
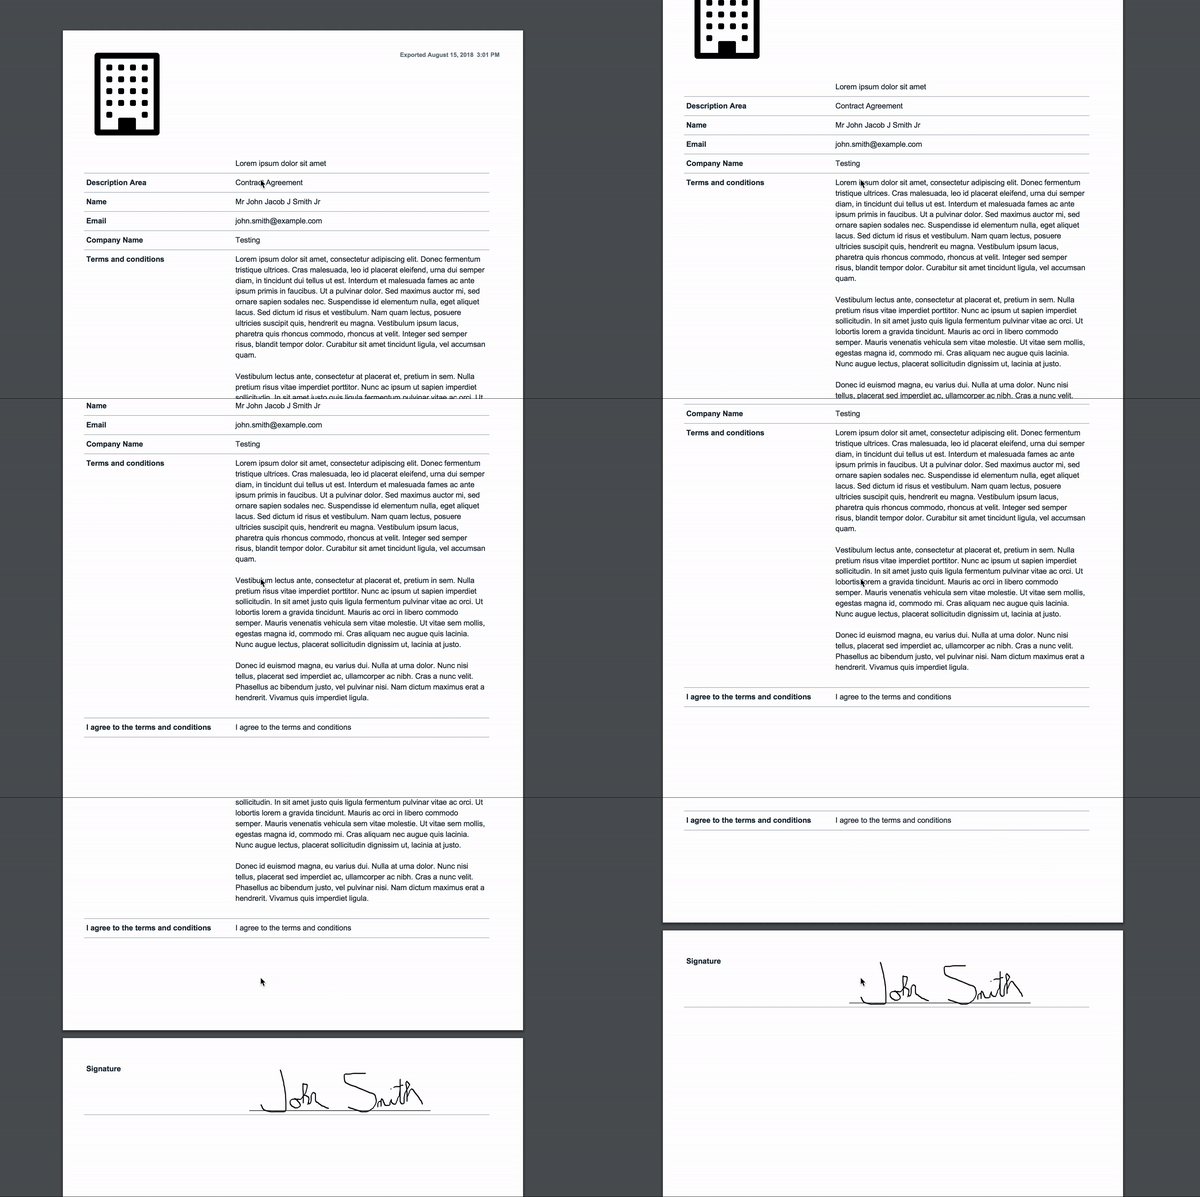
If the default email is too much Formstack for you, our Advanced PDF feature will attach the submission as a PDF to an email. You have the option to slightly edit the appearance of this PDF, so you can add your own logo to the left-hand header of the PDF.
We understand that going from paper to online forms is hard with contracts, so if you need the online contract to look just like the paper contract when you export it, we suggest looking into third-party services such as WebMerge to create that copy. WebMerge allows you to create a PDF template and merge your Formstack submissions with that template. When a user fills out their Formstack form, you can automatically send that data to WebMerge to fill in your pre-made template. You can then email that template out, save it in a file storage service like Box or Dropbox, or a variety of other options.
Did you know Formstack has an expert Professional Services Team that can help you build your online contracts? Click below to learn more about these services.


